DIY Large Paper Bow
DIY Large Paper Bow
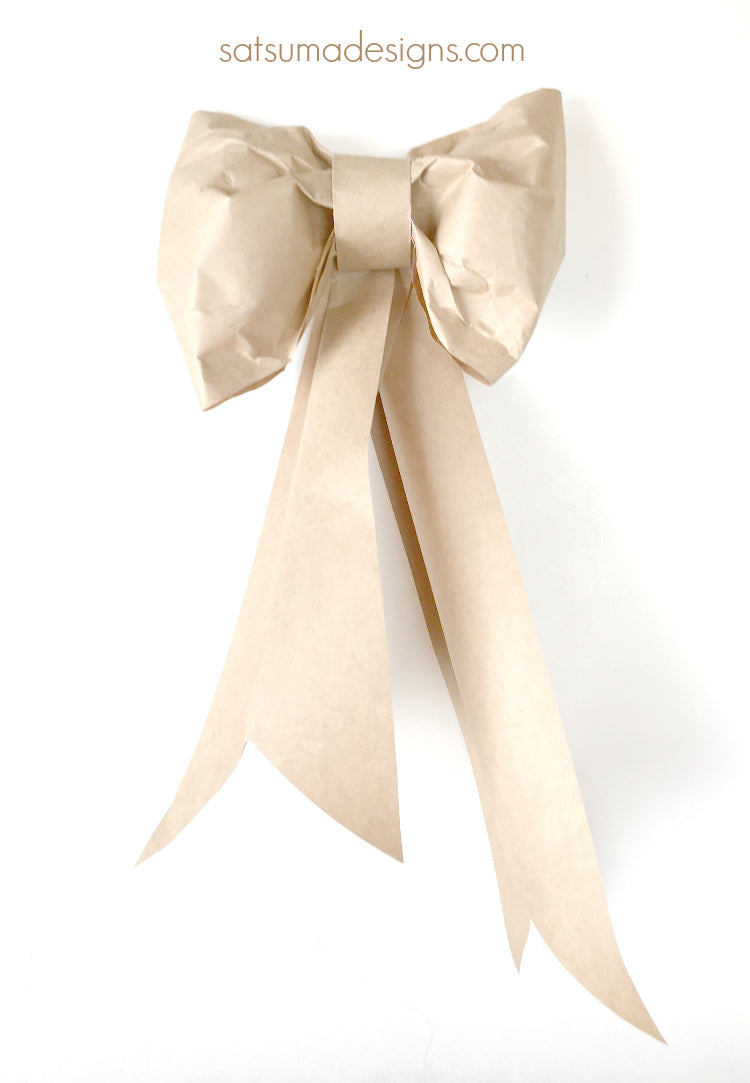
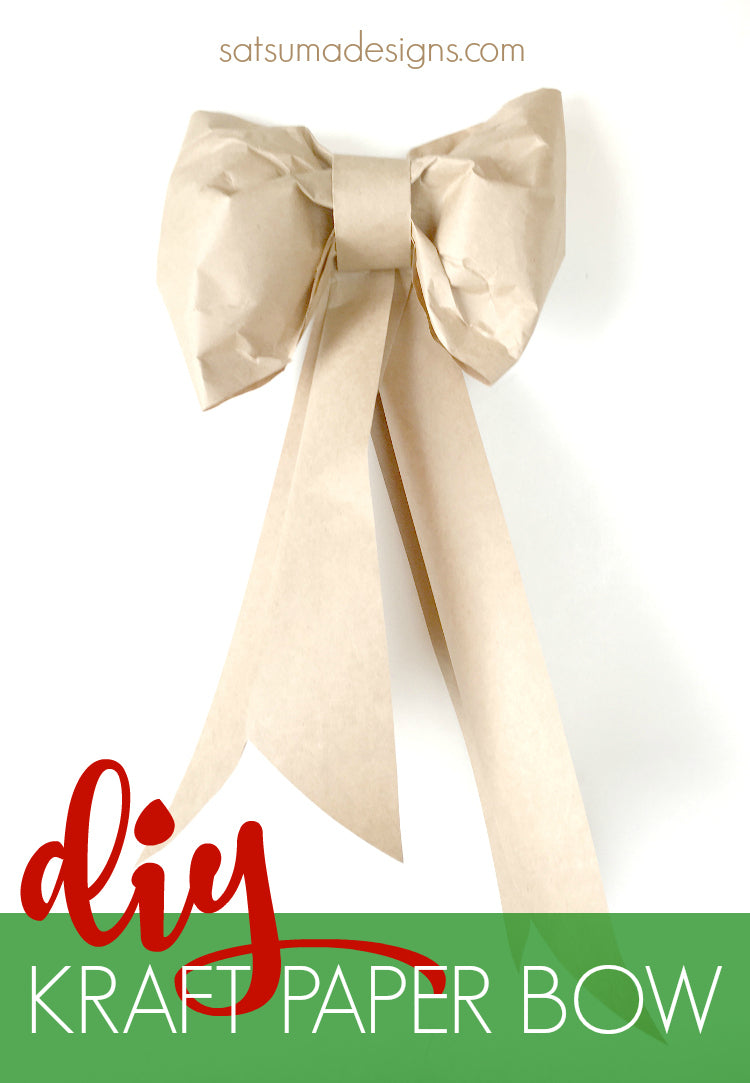
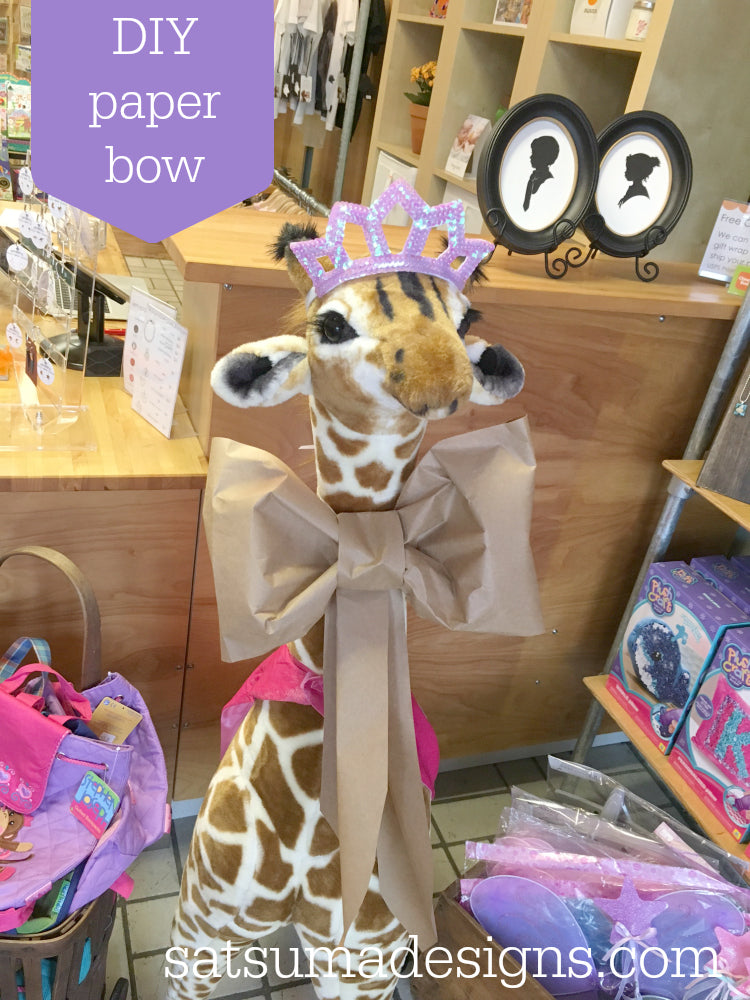
If you love kraft paper like I do, you'll appreciate this easy DIY large paper bow project that is absolutely perfect for holiday decorating, birthday parties and all year round. There are so many variations you can try once you have the easy technique I'll share in this diy large paper bow tutorial below.
While this is not a unique design, I did have trouble finding a large scale paper bow on Pinterest to use as inspiration. So, I let myself use trial and error and here's how you'll create the easiest large paper bow.
I'd love to see your creations! Tag your photos on Instagram with #satsumasmiles
Here's what you need for your DIY Large Paper Bow
- Kraft paper roll or wrapping paper roll
- Scissors
- Stapler and staples
- String, twine or ribbon to hang your bow
- Clear tape (optional)
Here's how to make your DIY Large Paper Bow
Start by cutting your pieces.
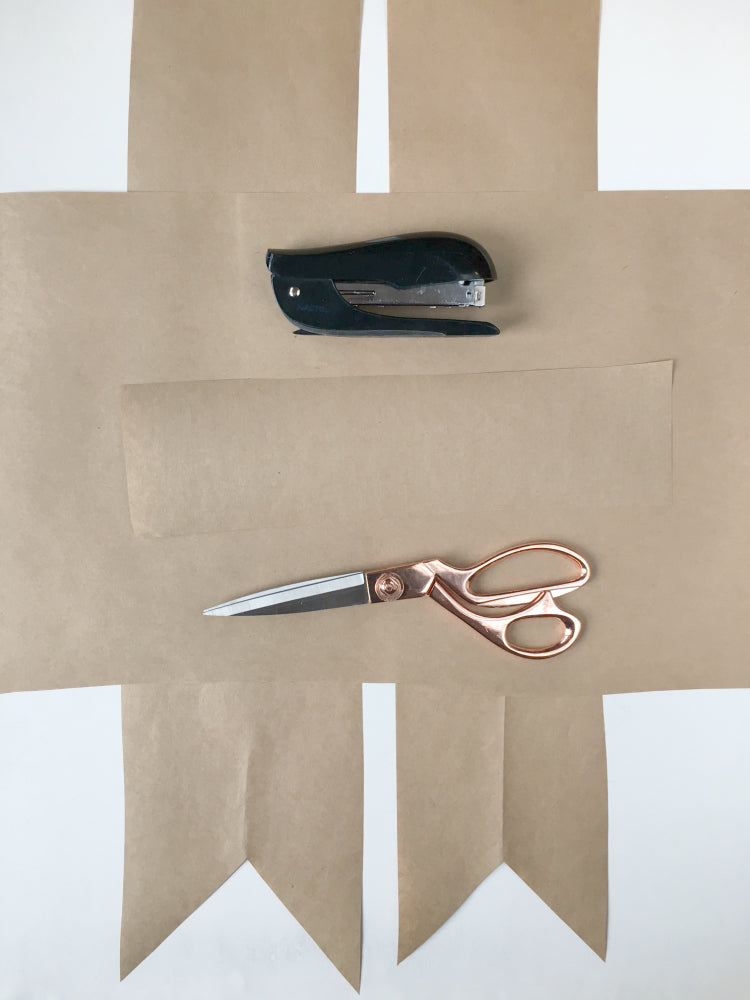
You'll need 4 pieces of cut paper as seen below.
You'll need a bow piece approximately 24" x 8" for a large bow, larger or smaller as you like.
A middle bow piece approximately 3" x 6" that you'll wrap around your bow.
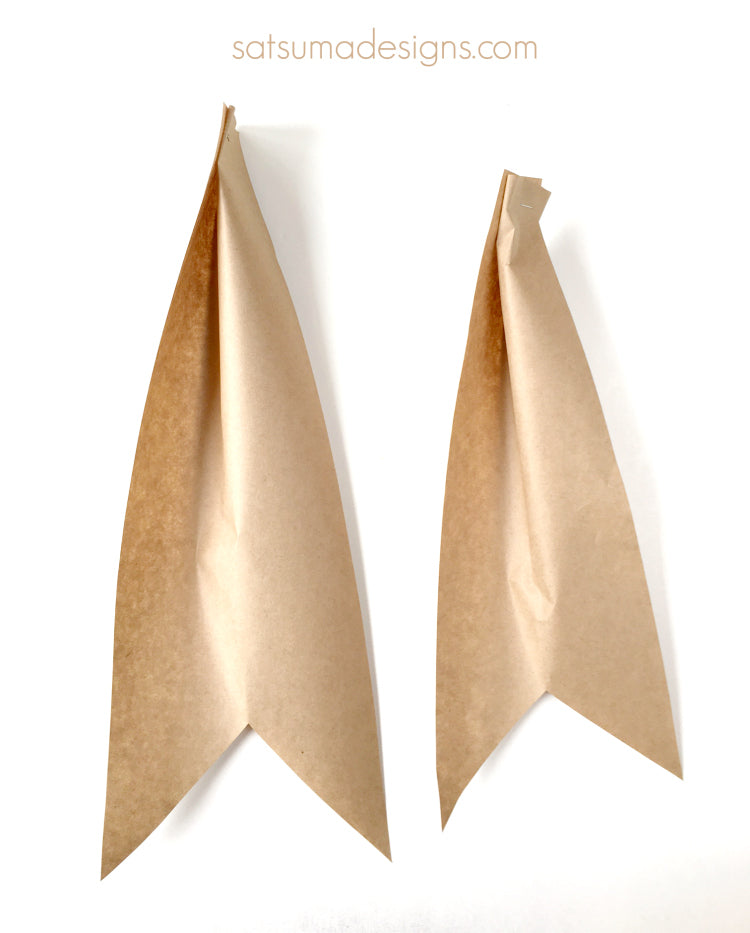
Finally, you'll need 2 bow tails approximately 6" wide x 20" long - I like to have one tail longer than the other.
Follow the additional instructions and photo tutorial below.
Take your piece of bow paper and make the ends meet. Staple the ends together.
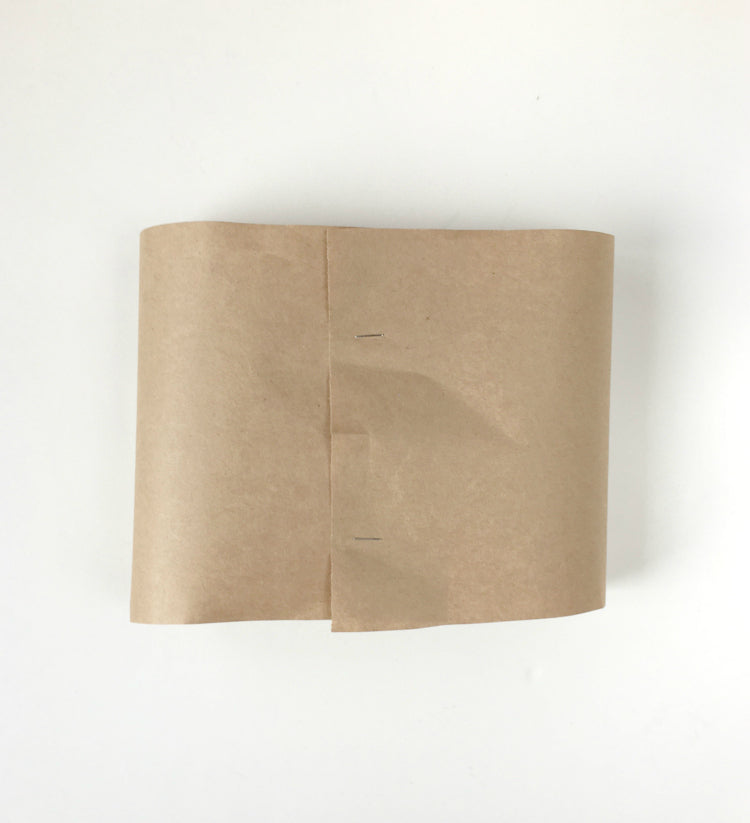
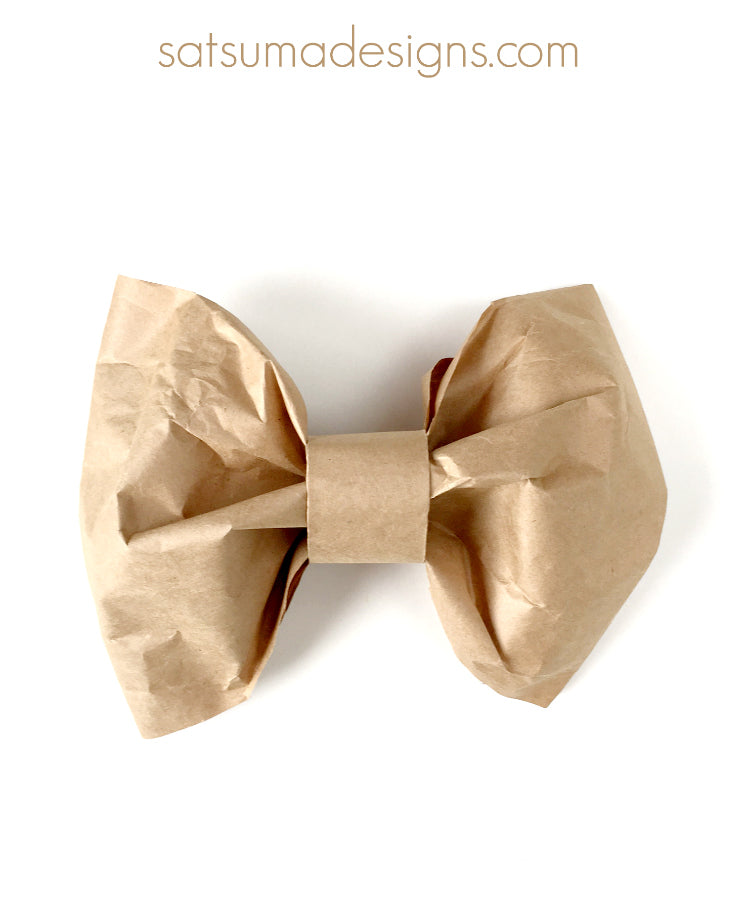
Now fold your center bow paper and wrap around the middle of your bow. To get a nice poofy bow, fold the center of your bow in half and then fold each edge back up so you have 1 peak in the middle, 2 valleys and 2 edges.
Now create your bow tails by accordion style folding the tops of your tails and staling them. Trim the bottom of your tails into the style you like. Do as I've done here or simply cut the ends on an angle.
Finally, attach the tails to your bow and your large paper bow is complete! Show us your creations when you tag and share on Instagram #satsumasmiles.
