
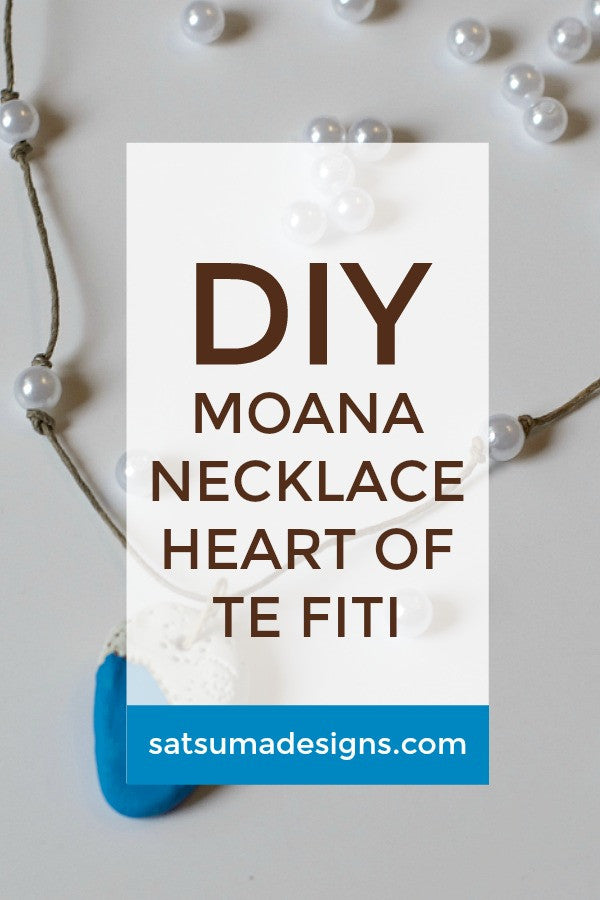
DIY Moana's Necklace | Heart of Te Fiti Necklace
DIY Moana's Necklace | Heart of Te Fiti Necklace
You may know the provenance of Moana's necklace that held Grandma Tala's Heart of Te Fiti giving Moana the powers to help her people. Even if you don't, my DIY Moana's necklace project is a fun one!
In preparation for a Moana birthday party we're hosting at Satsuma Kids Shop, I wanted to create a Moana craft that was easy for 5 and 6 year olds to tackle. This is it!
I've already had fun designing my Moana cupcake toppers and have lots of activities planned for the party. This Moana necklace craft is both easy to prep, affordable to share and lots of fun to create.
Please note that if you make these for a Moana birthday party, you'll want to start 2 days in advance so your self-drying clay will have a full 24 hours to dry, plus a little if you live in a humid region.
I suggest you have the necklace charms pre-made before the party so your little party goers can focus on painting, stringing their pearls and working on a tying a fisherman's knot so that their necklace is adjustable and easy to take on and off.
LIKE THIS IDEA? GET MORE IN YOUR INBOX.
DIY Moana's Necklace | Heart of Te Fiti Necklace Materials
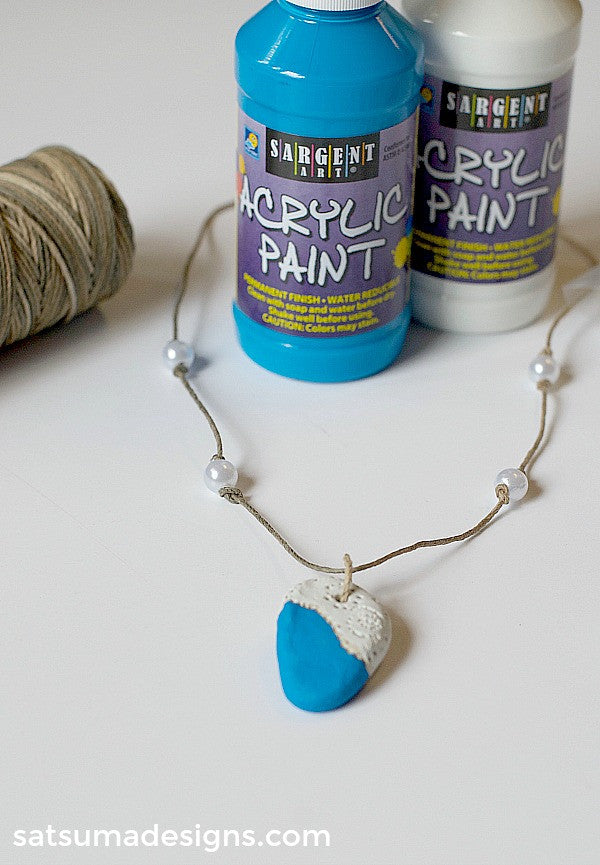
- Self-hardening white clay
- 20 lb. hemp cord - 20 lb. just refers to the thickness of the cording which you'll string through your medallion and pearls so needs to be a narrow diameter.
- 8 mm pearl beads
- Acrylic paint - aqua blue or royal blue and white
- Small tipped paint brush
- Toothpick
- Scissors
How to make your own Moana's Necklace | Heart of Te Fiti Necklace
Start in advance of your Moana birthday party by creating your necklace charms and giving them plenty of time to dry.
To create your Moana necklace charms, pull off a small chunk of your clay and roll into a ball. Flatten your clay ball and start gently forming it into an oval that's a little more pointed at the bottom as you'll see in this photo of Moana and Maui.
Now use your toothpick to create swirly designs on the top of your charm. Have fun with this and it doesn't have to be perfect!
Use your toothpick to poke a hole in the top of your charm where you'll string your cording.
Set your charms aside and let them dry by a window for at least a full day.
We're back!
Have your crafters paint the bottom of their charm blue and the top white. Set aside to dry. This should only take a little bit of time so they can start threading their pearls.
While you're waiting for the paint to dry, read the kids a Moana book or my favorite Kai the Opihi Gets the Point book!
When the paint is dry enough to work with start by creating a little jump loop for each charm. Thread about 3" of cord through your charm hole and tie off.
Now thread about 24" of cord through the jump loop that you'll use for your necklace.
Thread pearls and tie them off as you like. Use at least 2 on each side of your charm being careful to space them equally for balance.
Now you're ready to tie 2 fisherman's knots on the end to make your necklace adjustable. Please watch my video below to learn how.
How to Tie a Fisherman's Knot Video


HELLO THERE!

Today is a gift. Let's put a bow on it!
Find creative and sustainable ways to make family life a delight! Sharing modern etiquette that kids will enjoy.
💕 jennifer

CATEGORIES
DISCLOSURE
We feature paid advertising banners and affiliate links for some of the products mentioned in posts. Opinions are always our own.