
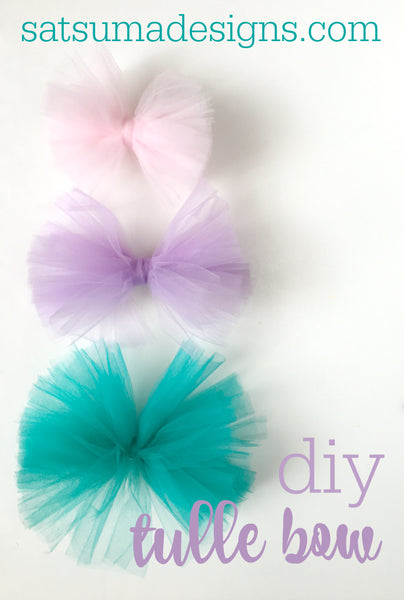
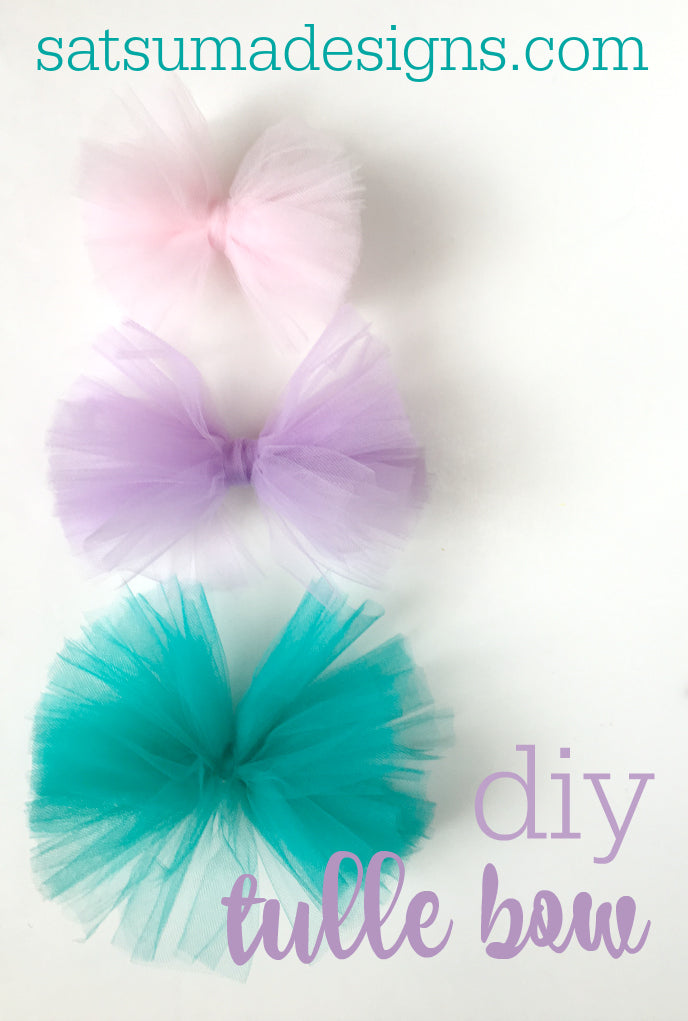
DIY Tulle Bow Tutorial
DIY Tulle Bow Tutorial
(5 minute read; 10 minute project)
Please Note: Some links in this post may include Amazon and other affiliate links, which means I receive a commission if you make a purchase. Thank you!
As I love to say, 'Life is a gift. Let's put a bow on it!'
My easy DIY Tulle Bow project is exactly what I'm talking about. A festive bow is the perfect addition to any clothing ensemble, gift, costume or even a garland, wreath or holiday tree!
I wanted to share this easy method so that you too can add a bow to brighten any day. I used to sell these bows at my Seattle kids shop and families loved they way they coordinated with everything we sold in the shop.
I would make custom bows for guests too while they waited. Many times, moms and dads would come in with a holiday outfit, Halloween costume or dance costume that needed a little extra flair.
I was ready with my bin of tulle, a hair clip, glue gun and scissors as that's all it takes to makes these tulle bows.

Make Your Own Tulle Bow
There are dozens of tutorials out there to choose when making a tulle bow, but I believe mine is the fastest and cutest!
It's so easy that I use this tulle bow tutorial at many of the children's birthday parties, craft classes and etiquette workshops that I teach.
In just a few minutes, children can make their own tulle bow and wear it at the party too!
There are so many ways to embellished these tulle bows as well. For extra flair, try adding:
- Jewels from the dollar store
- Initial beads or a child's first name strung on a bit of embroidery floss and tied around the middle of the bow before securing to the hair clip.
- Multiple colors of tulle to coordinate with birthday party colors or special outfits
- Silk flowers
- Felt flowers or butterflies
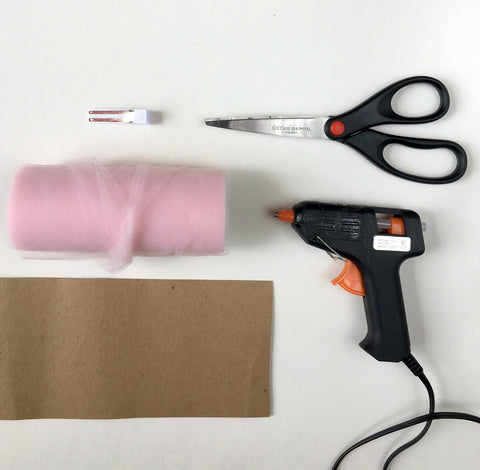
Here's what you need to make your DIY Tulle Bow
- Tulle - I use the delicate kind versus the kind that you can make kitchen sink scrubbers from. The best kind is on the roll for super ease and speed, but feel free to use scrap or bolt tulle and cut to approximately 6" wide by 36" long for a big poofy tulle bow!
- Clip - use a pre-covered clip like I did or pull an old clip from the bathroom drawer-even use a bobby pin.
- Cardboard wrapping frame - cut to approximately 5" wide that you'll use to wrap tulle around.
- Scissors
- Glue gun and glue sticks
Here's how to make your DIY Tulle Bow
Start by plugging in your glue gun so it's ready to go and set your work station up for easy work and clean up.
Next, cut your tulle to size or simply open up and prep your spool of tulle (say that fast - fun!)
Now, wrap your tulle around your cardboard frame about 10-12 times. The more you wrap it, the poofier your bow will be. So have fun and wrap it up!
Set your wrapped tulle aside and cut a length of tulle about 6" long by a few inches wide. If you're using a spool of tulle, just cut off a little length of tulle about 6" long.
Now, slide your wrapped tulle off of the cardboard and use the new piece of tulle to tie a square knot around the middle of the bunched tulle.
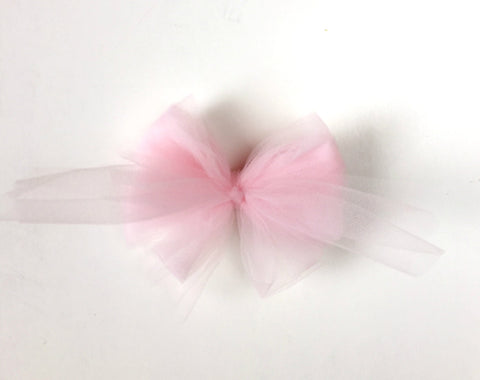
Make sure your knot is tight and centered properly.
Now, use your scissors and cut the two sides of tulle loop created by wrapping it around the cardboard.
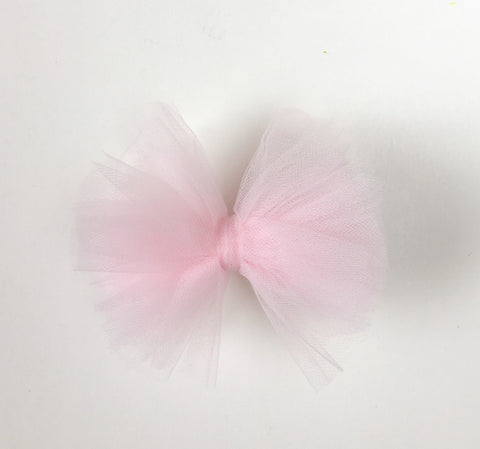
Trim each side of your bow.
Glue the clip on to the back of your bow where you square knot is and let dry.
Et voila! C'est tout!
Enjoy!
Other Ways to Enjoy Your Tulle Bows
Don't limit yourself to wearing a tule bow in your hair. Now that you and the kids are pros at making these fun embellishments, use them for all kinds of occasions.
Add a tulle bow to any of the following:
- Gift topper
- Puppy collar
- Birthday party favors
- Wedding and baby shower place settings
- Clip these in jewel tones to door wreaths
- String a dozen of these on some wide satin ribbon and string across the mantel for Easter


HELLO THERE!

Today is a gift. Let's put a bow on it!
Find creative and sustainable ways to make family life a delight! Sharing modern etiquette that kids will enjoy.
💕 jennifer

CATEGORIES
DISCLOSURE
We feature paid advertising banners and affiliate links for some of the products mentioned in posts. Opinions are always our own.