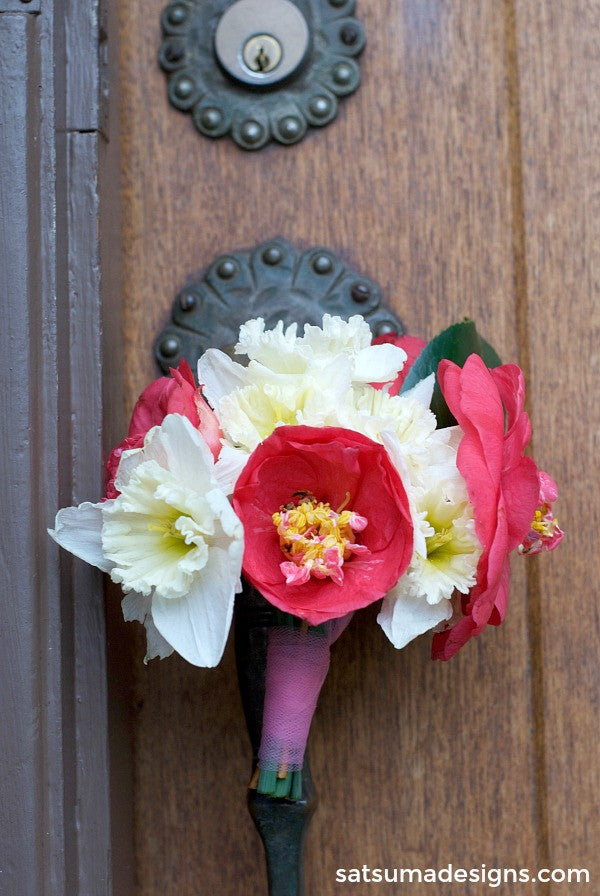
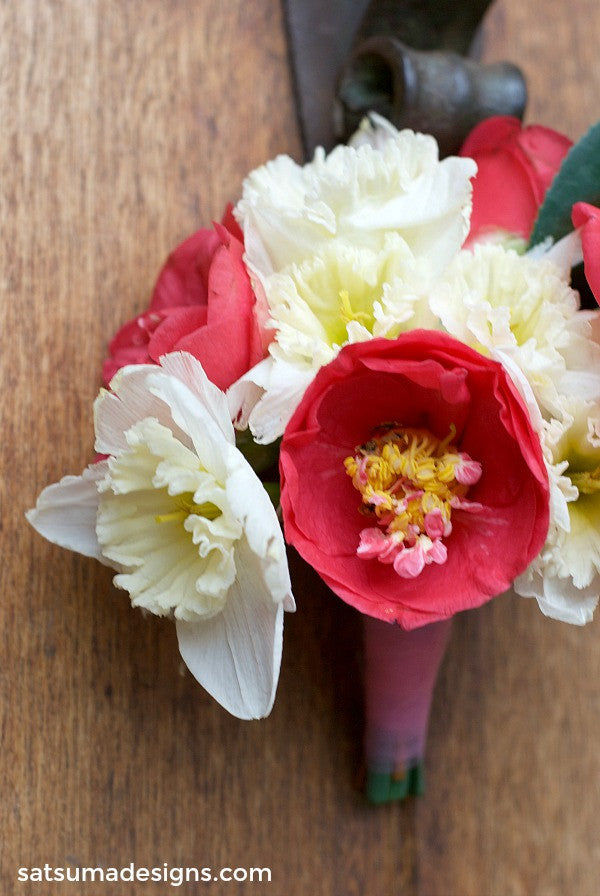
DIY Hand-Tied May Day Bouquet
DIY Hand-Tied May Day Bouquet
Please Note: Some links in this post may include Amazon and other affiliate links, which means I receive a commission if you make a purchase. Thank you!
If you're like me and love May Day, you'll want to spread as much flower power and love as you can.
I'm sharing my DIY hand-tied May Day bouquet project for you! This is THE May Day bouquet to use if you'd like to distribute more than a dozen May Day bouquets.

This May Day Bouquet project is a volume play for you to spread as much delight as you can to neighbors, friends and family.
The May Day tradition began in medieval times when May 1st was the first day of summer.
Today, we celebrate this Flora Festival in our springtime to welcome in the season and growth.
Here's what you need for your DIY Hand-Tied May Day Bouquet
- Fresh flowers and/or greenery
- Clippers
- Rubberband
- Scissors
- 6" wide tulle or wide ribbon - about 2 feet per bouquet

Let’s Be Social!
Follow me on Pinterest and Instagram for lots more easy how-to and Inspiration!
Share a philosophy of abundance like me? Let’s collaborate as I love to share the wealth! Tag #satsumasmiles to share your creativity and I'll share back.
Here's how to make your DIY Hand-Tied May Day Bouquet
Start by trimming off excess leaves from your blooms.
Gather each stem about 5-6 larger scale blooms.
Take your rubber band and pull it up ONE stem only, now wrap the rubber band around your bundle of stems. To secure the rubber band pull the end loop up another stem.
Now you have your bouquet and you're ready to wrap your ribbon or tulle.
Take about 6 inches of ribbon or tulle and pull it to the back of your bouquet. You'll use this 6 inches to tie to the other end of your ribbon after it's been wrapped around the stem to make your loop to hand on the door handle of door knocker.
With the 18" left of your ribbon, start wrapping in flat loops around your stem cluster.
When you're happy with the length of your ribbon around your stem, bring the excess to the back and double knot each end of your ribbon, now tie those ends to make a loop to hang.
Finally, use your clippers to trim the stems to about 1/2" to 1" below the bottom of your ribbon.


