DIY Shabby Chic Garland
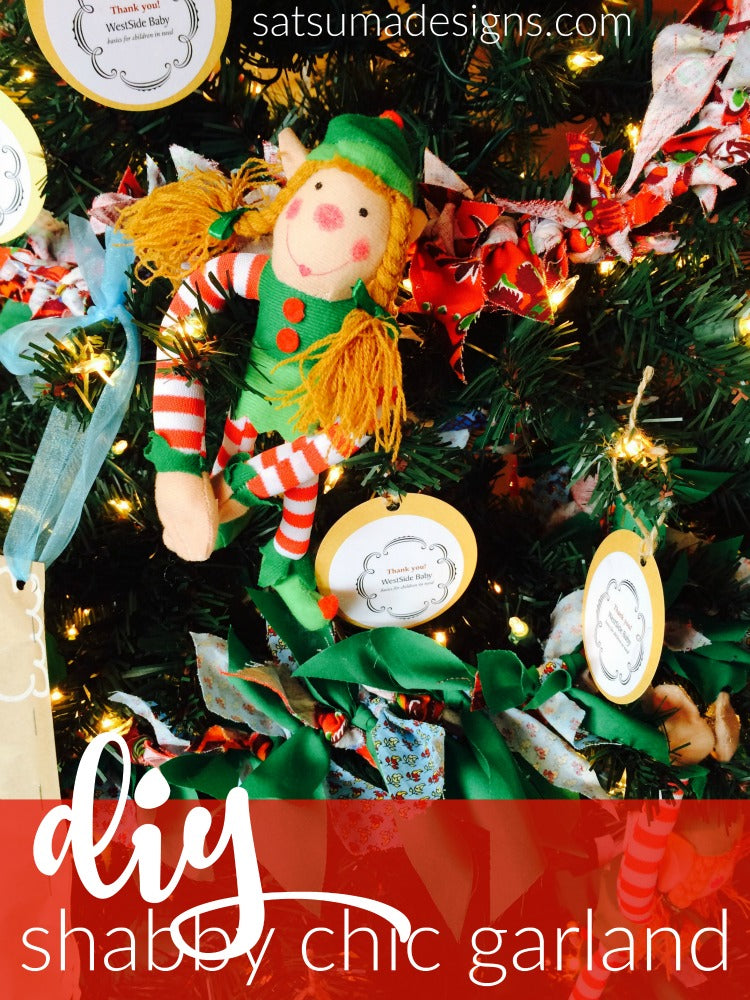
With the opening of Satsuma Kids Shop, I've had a great time decorating for the holiday shopping season. I was inspired by an adorable garland I saw at Pacific Fabric and Crafts in Seattle.
The shabby chic effect of this garland drew me to it immediately. But I couldn't tell what exactly gave it the look that I loved so much. I asked the woman helping me and she told me the trick was to cut the fabric scraps on the bias (diagonal) and then tie to cording to give the great uneven, but polished look.
I planned for decorating my 6.5' shop tree and have 6 'rounds' of garland on the tree. I used about 10 yards of hemp cord for my base. Check out my easy instructions below to create your own Shabby Chic Garland in no time. And don't skirt the issue and hot glue or stitch your garland to a circular piece of felt for coordinating tree skirt.
Also try shabby chic garland as a holiday gift topper.
This DIY Shabby Chic Garland also makes a great kid craft for snowy afternoons inside.
DIY Shabby Chic Garland
Here's what you'll need:
- LOTS of bias cut fabric scraps approximately 3-4 inches long. You just want to make sure that the fabric strips are long enough to tie in a square know around your cording or ribbon.
- Measured length of cording or ribbon to tie fabric knots onto.
- Scissors
Here's what you'll do:
- Measure out your cording and tie a knot at the end to ensure that your first fabric strip doesn't slide off the cording.
- Continue tying fabric strips onto cording until you have your desired length for decorating.
- Tie another knot at the finished end.
- That's it! Now go have fun draping!
Post a picture and tag #satsumasmiles to show us your festive work.
Enjoy!


