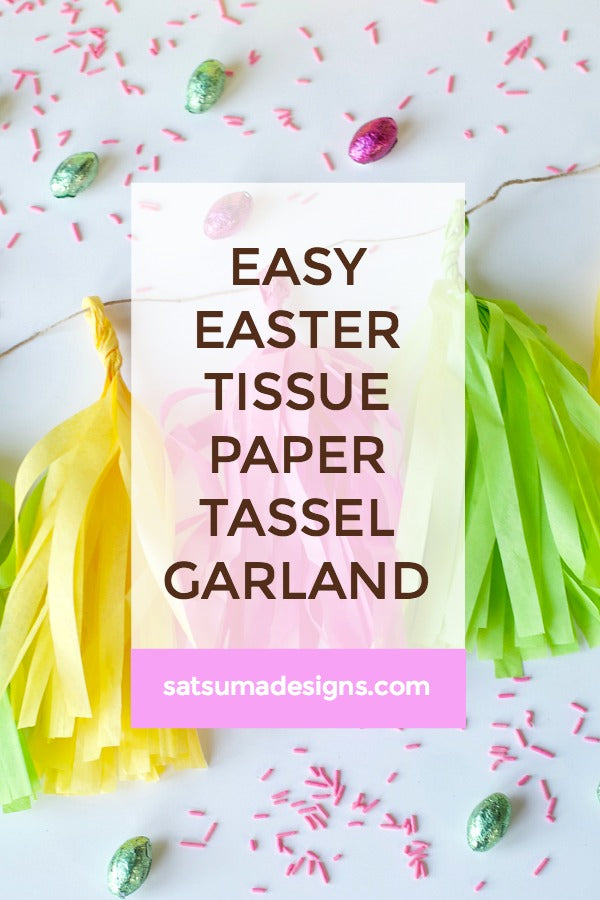
Easy Easter Tissue Paper Tassel Garland
Easy Easter Tissue Paper Tassel Garland
(5 minute read; 10 minute project)
Please Note: Some links in this post may include Amazon and other affiliate links, which means I receive a commission if you make a purchase. Thank you!
Want to learn one of the most adorable and easy decor solutions for Easter celebrations? Here's my easy Easter tissue paper tassel garland made in bright yellow, green and pink to enjoy the season.

Easy as Pie!
Before I started making these tissue paper garlands, I was intimidated by the time and cutting I expected it took to make these. Thankfully, I was totally wrong!
Tissue paper tassel garlands are so popular and the easiest addition to any party.
I'm sharing my how to below in hopes that like me, you'll try these and see how easy and festive they are.
Hang-10 or 20 or 30!
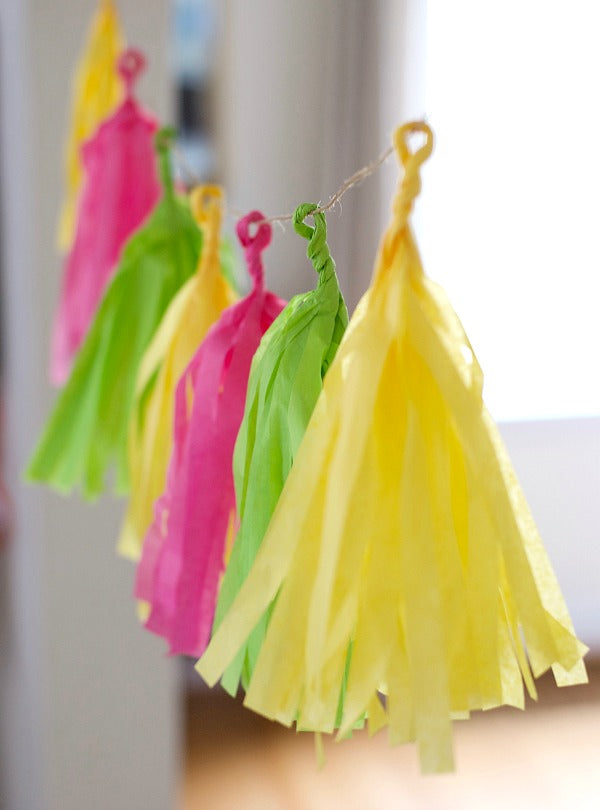
Tissue paper tassels strung into a garland are so easy to hang. I start by threading twine or ribbon through my tassel loops. I make sure to test the color combinations first, then line up my tassels in color order for fast threading.
If I'm hanging a handful or so, I use washi tape on the wall or mantle.
If I'm hanging a long garland, I'll use a Command hook with easy to remove adhesive.
I try to make these for all the parties I host and add them to balloons whenever I can.
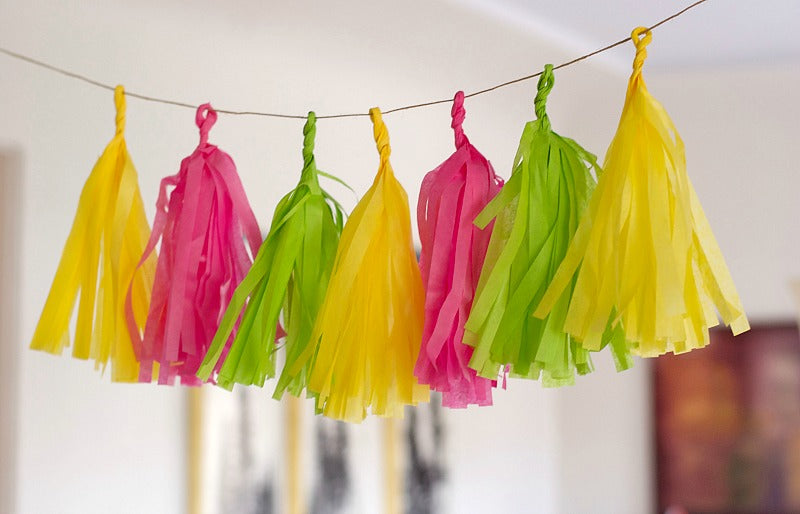
How To Make Tissue Paper Tassels Video Tutorial
DIY Tissue Paper Tassel How To
Start by folding your piece of tissue paper in half and half again.
Use your scissors, fringe scissors or tassel cutter to cut your paper into 1/2" widths on the END of the paper opposite the TOP fold.
Now, unfold your paper and place it lengthwise so the streamers are on your left and right.
Start rolling your paper up tightly around the middle making sure to keep your streamers flat as you go.
When you're at the end start turning the paper clockwise in your right hand and counter clockwise in your left hand so you have a spiral.
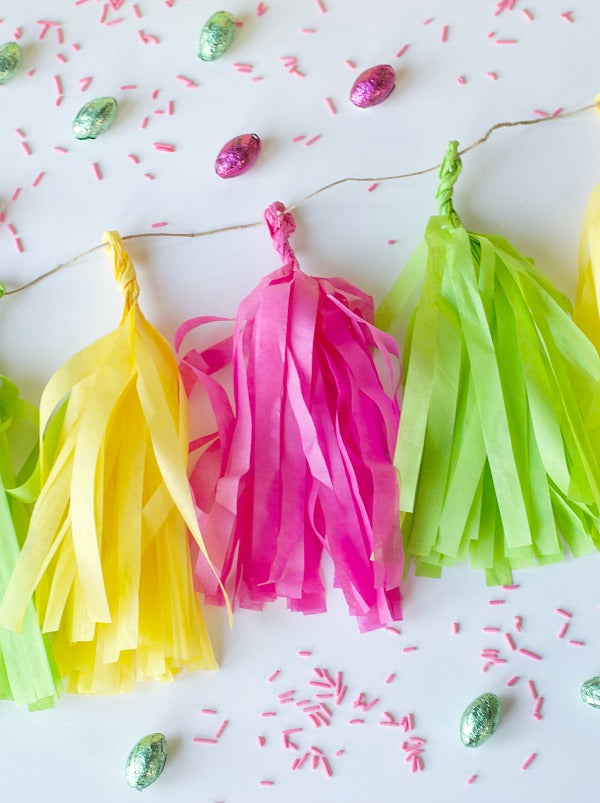
Now, keep twisting until you meet the streamers, now twist right and left sides together until you have a little loop at the top (see photo below).
Et, voila! You're done.

Let's Be Social
Thanks so much for sharing your social media love! Follow me on Pinterest, Twitter and Instagram. Tag #satsumasmiles to share your creativity and I'll share back.
